 Brewing herbal infusions at home can turn a simple cup of tea into a whole experience full of flavor and wellness benefits. Herbal infusions aren’t limited to chamomile or mint; they can include flowers, leaves, roots, or even barks, depending on what you’re looking for. If you’ve ever wondered why your homemade herbal tea tastes weak or too bitter, or you just want to get more out of your favorite herbs, getting a handle on proper brewing makes all the difference.
There’s a bit of an art to brewing infusions that are both delicious and effective. Whether you enjoy caffeine free sips at night or want a strong blend to help with your wellbeing, knowing the basics helps you make the most out of your herbal stash. It’s important to get things like timing, temperature, and even the vessel right. Every detail can affect the taste and strength of your cup. The world of herbal infusions is vast and fascinating—a place where traditional knowledge and modern wellness trends meet to give you an endless variety of flavors and benefits to dig into.
Here’s my all-in-one guide to properly brewing herbal infusions, with practical steps and tips to help you stumble upon the flavors and benefits you’re looking for in every cup. Grab your favorite mug and let’s jump in!
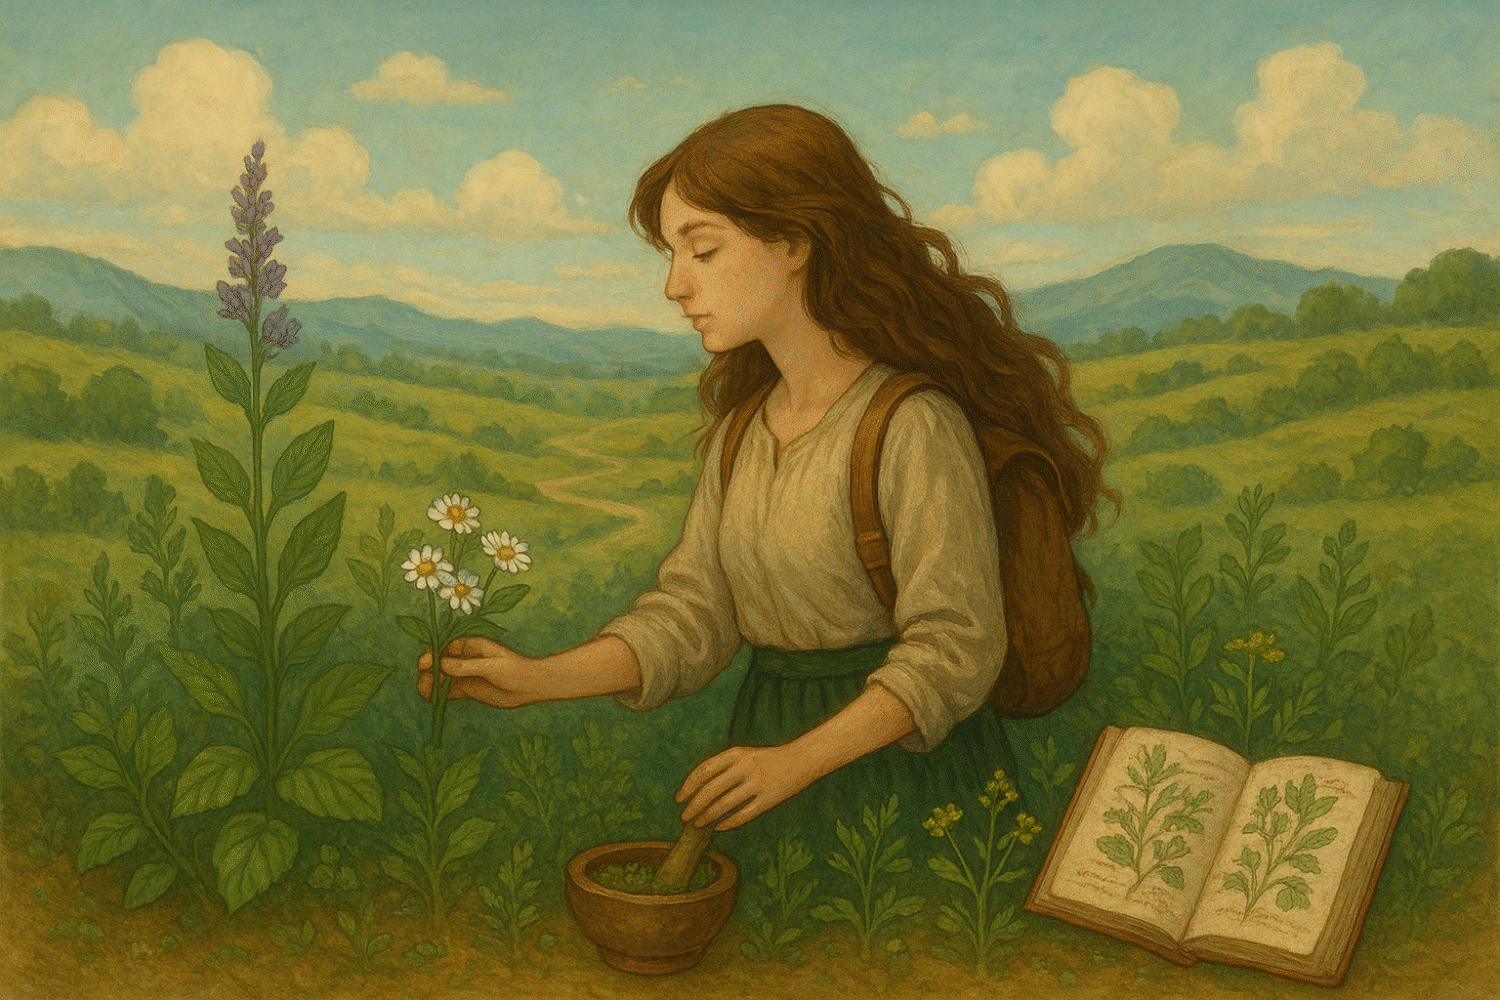
1. Get to Know Your Herbs
Not all herbs are created equal when it comes to infusion. Some are soft and leafy (like lemon balm or mint), while others are tougher, like roots (think ginger or echinacea) or seeds (fennel, coriander). Getting familiar with what you’re brewing helps you adjust your method for the best results. Exploring new herbs can introduce you to eye-catching blends and next-level cool flavors you never expected from a homemade cup.
Types of Herbs Commonly Used
- Leaves & Flowers: Peppermint, chamomile, lavender, hibiscus
- Barks & Stems: Cinnamon, licorice, pau d’arco
- Roots: Ginger, dandelion, valerian
- Seeds & Fruits: Fennel, rose hips, cardamom
Leafy and floral herbs usually infuse faster, while roots and barks need more time and sometimes higher water temperatures to release their flavors and beneficial properties. Familiarize yourself with which herbs you enjoy most—some bring subtle floral notes, others offer deep earthy undertones perfect for cooler evenings or pre-bed relaxation.
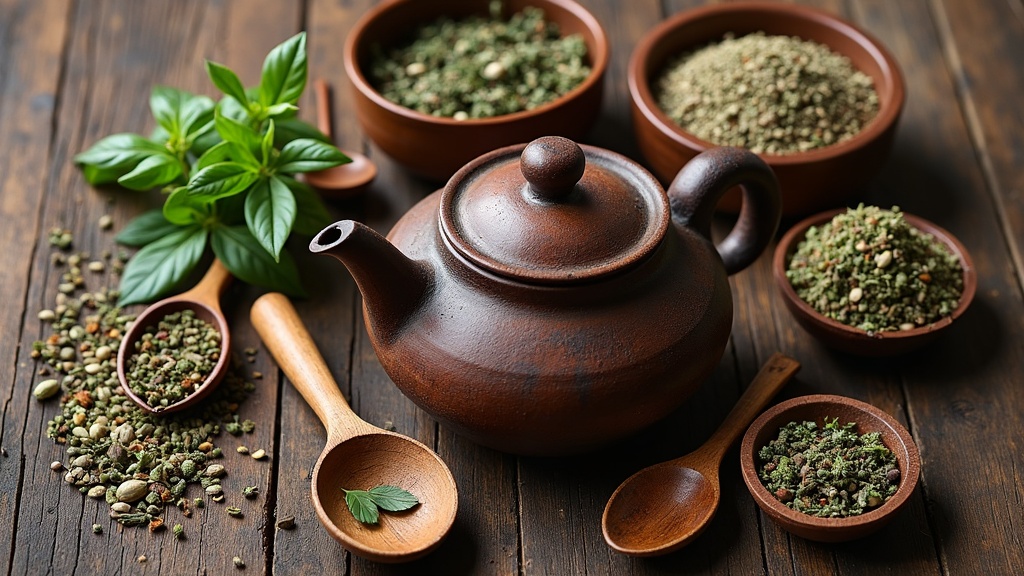
2. Proper Setup and Gear
Getting your gear together makes a huge difference. You don’t need anything fancy, but some tools help a lot:
- Kettle: For boiling water. Electric or stovetop both work.
- Teapot or Mason Jar: A glass, ceramic, or stainless steel vessel is ideal.
- Strainer or Infuser: Mesh infusers, reusable muslin bags, or a plain strainer for loose herbs.
- Cup with Lid or Small Plate: A lid helps keep in heat and flavor during the steep.
Try to avoid using plastic or containers with lingering flavors from previous drinks. Clean, neutral gear lets the herbal flavors come through best and maintains the purity of your fresh blends.
If you love herbal infusions, investing a little time into finding a vessel that holds heat well, like ceramic, can take your home tea ritual to the next level. Don’t overlook the importance of a good infuser—an easy-to-clean one saves time and hassle, letting you focus more on enjoying your brew!
3. Measuring and Prepping the Herbs
The basic rule is 1–2 teaspoons of dried herbs (or 1 tablespoon fresh) for every cup (about 8 ounces) of water. If you want a much stronger infusion, go for 1 tablespoon dried herbs per cup. For medicinal blends or when you want a really bold flavor, you can use up to 1 ounce of herbs for a quart of water; just expect a much deeper and sometimes more bitter result.
- Dried: A little goes a long way. Crush or crumble leafy herbs to help them steep.
- Fresh: Rinse and bruise leaves lightly for better flavor release.
- Roots, Barks, or Seeds: Chop, grate, or crush to allow water to get inside.
Being mindful about how you prep your herbs matters here—breaking down roots or seeds means the hot water can access all those healthy compounds. For floral teas meant to impress guests, crumble the petals gently and maybe add a next-level cool edible flower for garnish.
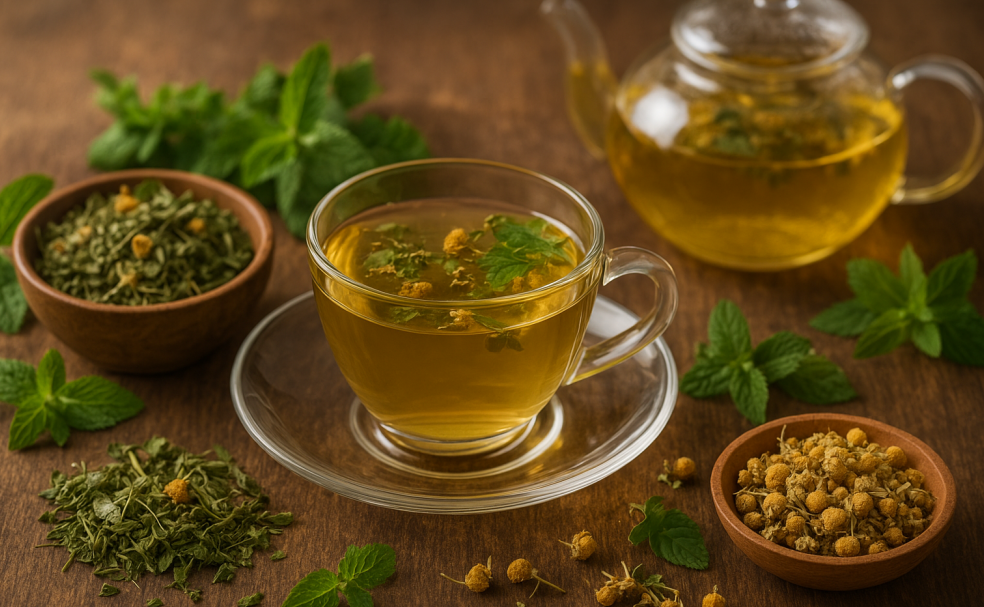
4. Steeping: Time, Temperature, and Tips
This is where the magic happens, and timing truly matters. Here’s what I’ve learned through hundreds of brews:
How Long Do You Steep Herbal Infusions?
- Leaves and Flowers: 5–15 minutes at 200–210°F (just below boiling)
- Roots, Barks, or Seeds: 15–30 minutes at boiling temperature; some folks even let these simmer gently for deeper extraction
For a basic relaxing cup, five minutes of steeping is usually enough for lighter herbs. For a stronger infusion (for more herbal benefits), aim for 15–30 minutes. If you’re brewing a mix, start with the longest-steeping ingredient and work your way from there. It’s a great idea to experiment with steeping times and temperatures to stumble upon your ideal cup and get a sense of which method brings out the most from your chosen herbs.
The Best Way to Infuse Herbs
- Pour hot water directly over your herbs in the infuser or jar.
- Cover your cup or jar; this keeps the heat in and helps hold onto all those good, volatile oils that can escape as steam.
- Let your herbs soak (steep) for the recommended time.
- Strain and enjoy as is, or add honey, lemon, or sweetener as you like.
Experiment with the addition of spices like cardamom or a slice of ginger for an interesting twist. The process of covering your tea during steeping locks in aroma and subtle taste notes for a richer sipping adventure.
5. Making a Strong Herbal Infusion
If you want a stronger infusion—maybe you’re looking for bigger flavor or you’re using the herbs for wellness purposes—you’ll need to either increase the herb-to-water ratio or extend the steeping time. Here’s what works for me:
- Use more herbs. Don’t be afraid to double or even triple the amount for a bolder cup. Start slow; sometimes too much can mean extra bitterness, especially with roots and barks.
- Steep for longer. Let your infusion sit covered for anywhere from 30 minutes up to several hours for extra strength.
- Try a cold infusion for delicate flowers or leaves. Place herbs in cold water and let steep overnight in the fridge. This pulls out different flavors and can give a mellow but strong drink.
Strong infusions are great as an iced drink, in herbal syrups, or as a concentrate to dilute later. When cold infusing, the process also brings out more nuanced, subtle flavors—perfect for summer sips or when you want something a little different than hot tea.
6. Herbal Tea Brewing Guide (Step by Step)
Here’s how I brew herbal tea at home for maximum taste and effect:
- Boil fresh water. Make sure it’s filtered if your tap water tastes off.
- Measure out your herbs into a heatproof vessel (cup, teapot, or mason jar).
- Pour water just off the boil for leaves/flowers, or actually boiling for roots/barks.
- Cover and let it steep for the time suggested for your herb type. If you want strong flavor, give it longer but taste as you go.
- Strain out the herbs. Don’t squeeze them too hard or you’ll add bitterness.
- Add anything else you like: honey, a slice of lemon, or even a cinnamon stick.
- Enjoy while it’s fresh. Herbal teas tend to taste best right after brewing.
Pro tip: Keep a simple journal of steeping times and amounts as you explore new blends. Over time, you’ll figure out your favorite ratios, and it’s surprisingly satisfying to look back and see your homemade blends evolving!
7. Extra Tips, Troubleshooting & FAQs
How do you store leftover herbal infusion?
If you make more than you can drink right away, store the extra in a sealed glass jar or bottle in the fridge for up to 48 hours. Herbal infusions can grow bacteria faster than black or green teas, so don’t keep them too long.
Why does my herbal infusion taste bland?
- Try more herbs or a longer steeping time.
- Make sure you’re covering the cup while steeping.
- Check your dried herbs; if they’re old, the flavor won’t be as lively.
Is it better to simmer or just steep herbs?
Delicate flowers and leaves should always be steeped (not simmered). Tougher roots and barks sometimes release their goodies better with a low simmer instead of just steeping. Use a covered pan if simmering, and strain after 20 to 30 minutes. Finding the right method for your herbs can step up both taste and the amount of beneficial compounds you get with every cup.
The Takeaway: Building Your Herbal Brewing Routine
Brewing herbal infusions doesn’t need to be complicated, but a little technique gives you a whole world of new flavors and benefits to experiment with. Start with the right herbs, use the right steep time and water temperature, and adjust to your own taste. Having a batch of dried herbs and a good teapot at home opens up a lot of options, whether you want something calming, refreshing, or strong and focused.
Dig into the colorful world of herbs—you’ll notice how even a simple blend can turn into an eye-catching beverage with the right steep. Trying different combinations and techniques keeps things fresh and lets you track down personal favorites while enjoying the wellness perks that herbal teas can offer.
Your Herbal Action Plan:
- Choose a couple of herbs you want to explore.
- Test different steeping times and amounts until you find your favorite strength and flavor.
- Write down your favorite combos so you can recreate them easily.
Herbal brewing is a chance to slow down and enjoy a little handmade comfort any time of day. Got a favorite blend? Share your own herbal tips in the comments below, and keep on stumbling upon new and exciting ways to make your tea ritual special!